
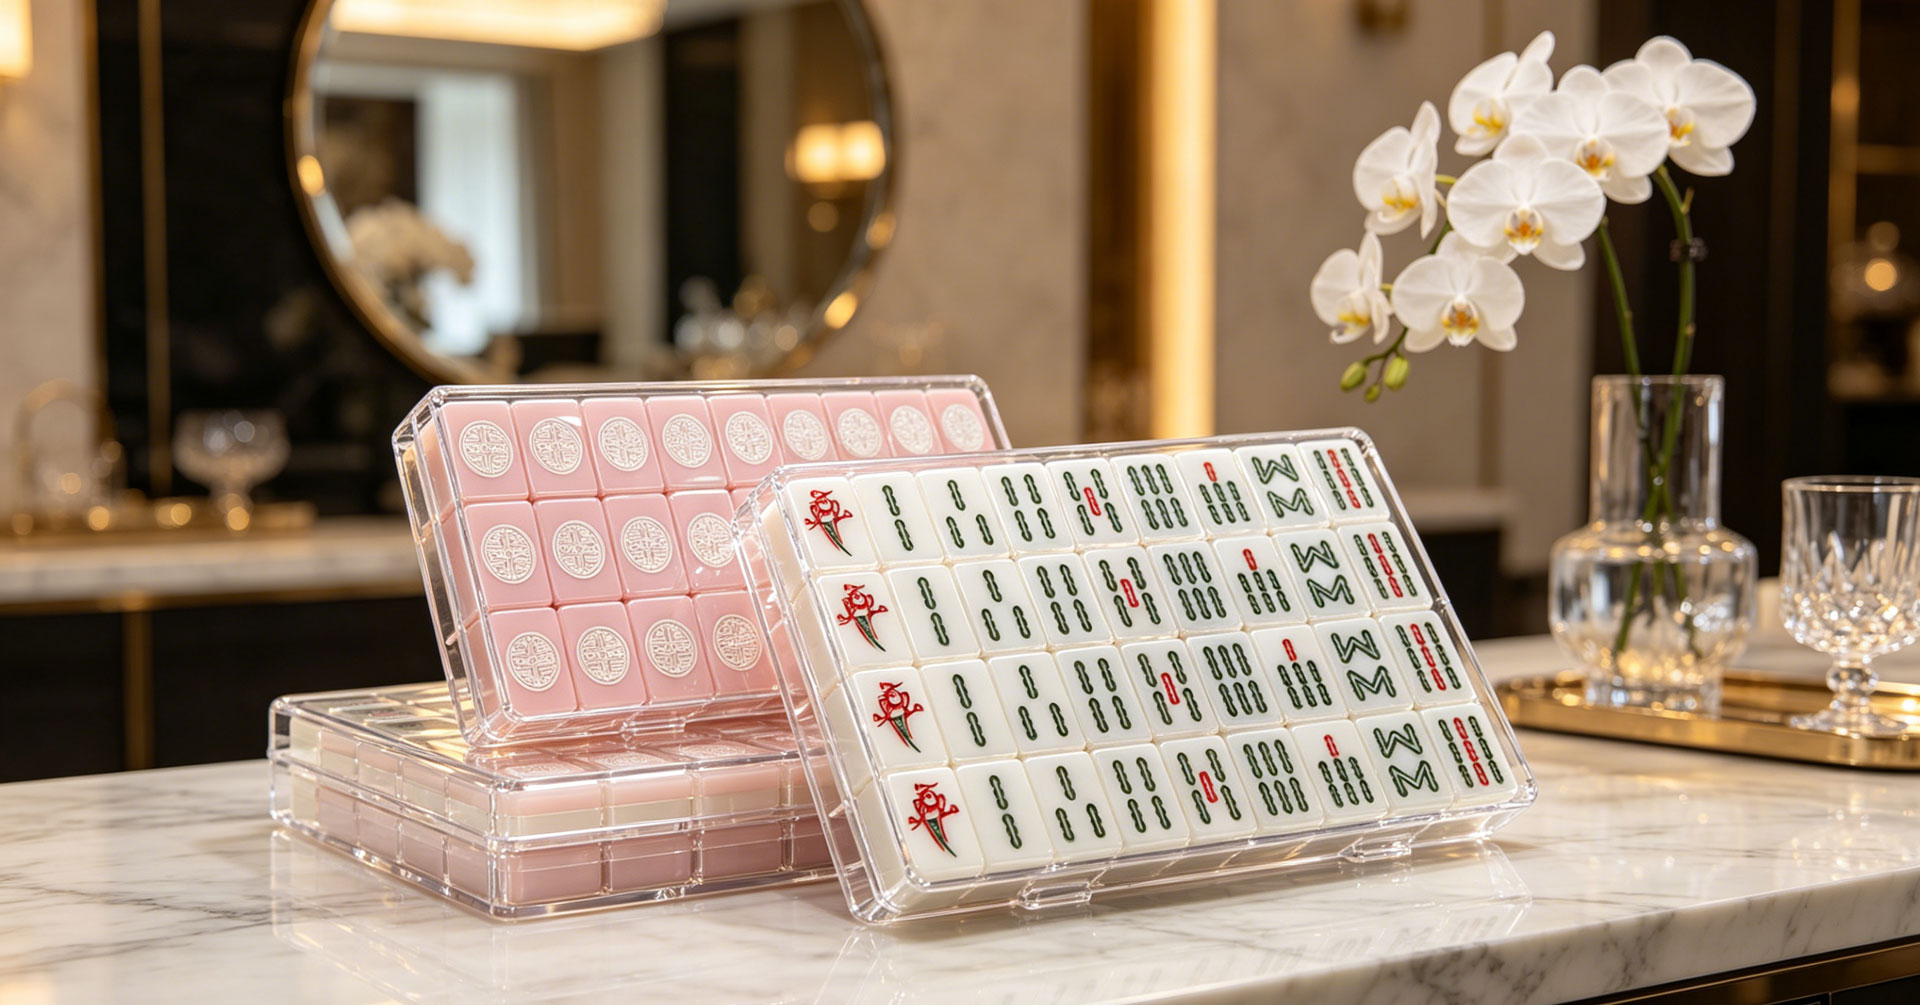
Prepare artwork against the exact tile template and decoration method agreed for your project. A clear file package lets the buyer and production partner identify missing symbols, orientation errors and colour questions before committing to a physical sample. This checklist is planning guidance; it does not state a universal factory specification.
What should the artwork package contain?
| Item | What to provide | What to confirm before sampling |
|---|---|---|
| Tile map | A numbered face list, quantities for each face, backs, Jokers, flowers and any spare tiles | That the total matches the intended playing format and the approved bill of materials |
| Vector artwork | Editable AI, EPS, SVG or vector PDF where available, plus a viewable reference PDF | Which formats the chosen production partner can use; closed paths, outlined fonts and separate decoration layers |
| Raster artwork | Original PNG or TIFF at the intended print size, with linked files included | Effective resolution, transparency, gradients and whether small details reproduce on the chosen surface |
| Colour references | Named colours and, where useful, a physical reference swatch | Lighting, substrate, white underprint and the physical sample used for acceptance |
| Revision record | One approved file set with a version identifier | Who can approve changes and when a new sample or quotation is needed |
How should resolution and safe areas be set?
A raster image at 300 DPI at final print size can be a useful starting point for review, but it is not a guarantee of legible lettering. For example, a 30 mm wide image at 300 DPI is about 354 pixels wide. Enlarging a small source image does not restore missing detail. Ask for a printed test at actual size when fine lines, gradients or small text matter.
Use the selected tile's production template rather than a generic “American standard” size. Ask the production partner to mark the printable area, bleed if needed, corner radius and safe distance from edges. Record a project-specific minimum line width and margin after reviewing the actual process and sample; this guide does not prescribe a universal 1.5 mm margin.
What changes between engraving and printing?
Engraved marks need clearly defined shapes and a review of recess depth, line separation and fill colour. Printed designs need review of image detail, registration, coverage and any white layer. Keep engraving, colour fill, print and cut references on named layers so a preview cannot be mistaken for a production instruction.
Before approving the sample
- Check every face against the tile map, including suit counts, duplicated faces, back orientation and spare tiles.
- Compare the sample under the agreed lighting, alongside the signed colour reference and matching accessories.
- Record acceptable placement and appearance limits in the approval sheet. Screen colour alone is insufficient for physical colour acceptance.
- Archive the approved artwork, sample photographs and written change log together.
Frequently asked questions
Can I start with a JPEG logo?
Use it as a visual reference. Ask whether it needs redrawing and approve the redrawn artwork before sampling. A file extension alone does not prove that artwork contains editable vector paths.
Does one approved file cover every product?
Confirm a separate layout for tiles, racks, mats and packaging. A logo that works on a large box may need simplification on a small tile.
Next: compare decoration methods and use the sample approval checklist. Share the package through the customization brief.