
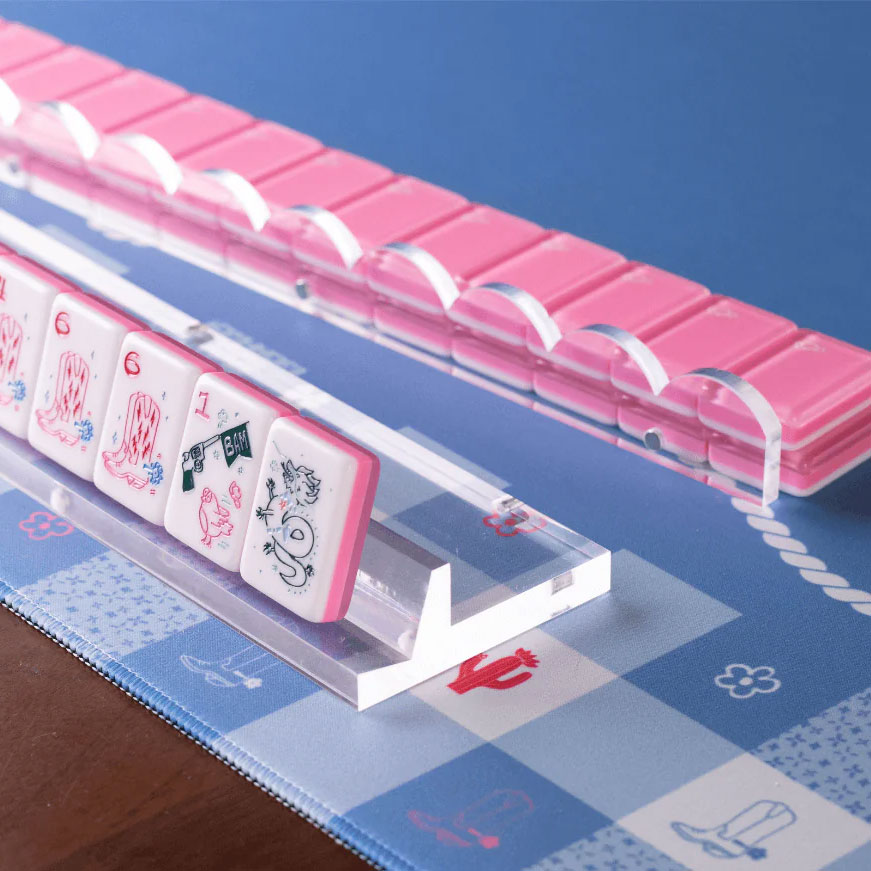
Before approving a mahjong pusher, try the proposed sample with the complete tile wall, rack and playing surface intended for the collection. Record which components you used and what happened during movement. A matching color and an overall length on a drawing do not establish that the assembled setup works as intended.
This guide focuses on a practical purchasing question: what should a buyer record during a pusher sample review? It is a review worksheet, not a standardized performance test or a promise that a particular configuration will pass.
Identify the setup before judging the pusher
Give the sample a revision ID and keep it separate from earlier concepts. Record the tile dimensions, rack version, mat or table surface and the wall arrangement you want to evaluate. Use the tile quantities and arrangement for your intended play format rather than assuming every buyer builds the same wall.
A pusher can look suitable beside a short group of tiles while leaving part of a complete wall unsupported. Conversely, an accessory that fits the wall may interfere with another component during movement. Review the complete arrangement rather than approving each component from an isolated photograph.
For a broader material comparison, see acrylic and wooden racks: compare fit first. Keep that choice separate from the observations you record on this particular pusher sample.
Check working coverage, not only overall length
Ask for the proposed pusher dimensions and identify which portion actually contacts the tiles. Decorative ends, handles or connection details may occupy space that should not be counted as working coverage.
Build the intended wall with the actual tiles and place the pusher in its starting position. Observe whether the intended contact extends across the wall and whether the ends clear the adjacent components. Include a top-view photograph and identify the sample revision in the record. If a size change is requested, mark the affected measurement on the drawing rather than writing only “make it longer.”
Do not use tile height as a compatibility shortcut. Tile width and thickness, the rack geometry and the proposed pusher arrangement also matter. The tile dimension guide explains how to organize the measurement references.
Try movement on the intended surface
Move the arranged wall through the motion you expect in use. Note whether the contact remains even, whether tiles shift or tip, and whether the user needs to reposition their hands or the pusher unexpectedly. If the movement catches or feels uneven, record where it happens and which components are touching before deciding what to change.
Use the selected mat or table surface for this review. A result on a different surface is a separate observation, not proof of identical handling. Record the conditions so a revised sample can be compared in the same setup. A short video can show the starting position, movement and end position more clearly than a single photograph.
If the rack and pusher are designed to connect, request an explanation or drawing of that connection. Review attachment, separation and storage with the sample. Do not infer what a magnetic feature connects to from the word “magnetic” alone; identify the actual mating components and confirm their intended function.
Use a review sheet with an action for every open item
| Review item | Evidence to record | Decision to make |
|---|---|---|
| Setup identity | Tile, rack, pusher and surface revision IDs; intended wall arrangement | Is this the configuration being ordered? |
| Working coverage | Top view with the full wall and named measurement points | Accept the proposed coverage or request a marked drawing change |
| Starting and ending clearance | Views showing the pusher beside adjacent parts | Identify any interference that needs review |
| Movement | Short video and a description of shifting, tipping or catching, if observed | Repeat under the same conditions after any change |
| Connection, if included | Mating components, attached view and separation sequence | Confirm the intended function and unresolved handling questions |
| Finish and handling | Close views of edges, joints and contact areas | List visible or handling issues for correction |
| Storage | Pusher placed with the complete packed contents | Confirm whether the proposed compartment and protection still fit |
Keep the observations specific. “Sample needs improvement” gives little direction. “Pusher end contacts the rack before the wall reaches the marked position” identifies the interaction that needs review without guessing its cause.
Separate layout approval from handling approval
Use explicit statuses such as “drawing reviewed,” “sample review open” and “approved for the recorded configuration.” A digital proof can settle a proposed outline or logo position, but it cannot demonstrate movement with physical tiles.
When an issue requires a revision, identify the affected component and request confirmation of any effect on the other parts. A longer pusher may also change its storage requirement; review the complete-set box insert checklist before approving the packed collection.
An illustrative approval note could read:
Pusher sample P2 was reviewed with tile sample T1, rack R1 and mat M1 in the recorded wall arrangement. Working coverage is accepted for that setup. Storage review remains open until the revised insert is available. This note does not approve a different tile size or accessory combination.
Only use such wording after the corresponding review has actually taken place. Keep the drawing, photographs, video and open-item list together so a later decision can be traced to the sample that was examined.
Prepare a pusher review request
Send the component IDs, actual tile dimensions, intended wall arrangement and photographs of the proposed setup with your rack and pusher project brief. Identify what you want the next sample to resolve. Contact MahjCustom to discuss the configuration and review scope before final approval.